

How to create a workspace template
A workspace template is the recipe LabPod uses when it creates a workspace. It records the image, app launchers, default CPU and memory, GPU preference, environment variables, and the README shown on the create screen.
README previews support Markdown tables and fenced code blocks. Wide tables and long commands scroll within the preview, so keep installation commands fenced and use a table when comparing workspace template variants.
Use a private workspace template when you need a repeatable environment for your own work. Admins can create global workspace templates for everyone from the Workspace templates admin area; regular users create private workspace templates from Advanced tools → Workspace templates → My workspace templates.
The My images tab lists images before optional active-container, delete, and untracked-container checks. Choose Manage only when you need those details. My workspace templates also appears before reusable global presets finish loading, which keeps both areas usable on a large or busy host.
Create a workspace template from an existing image
Section titled “Create a workspace template from an existing image”Use this path when the image already exists in a registry or in your rootless Podman image store.
- Open the Advanced tools menu → Workspace templates. The page opens on My workspace templates.
- Click New workspace template.
- Fill in Name and Image.
Example:
docker.io/pytorch/pytorch:2.5.1-cuda12.4-cudnn9-runtime. - Set Default CPU and Default memory to sensible starting values.
- Add launchers in the Ports section. Use Import launcher when a matching catalog launcher exists.
- Add workspace-template environment variables if every workspace from this workspace template should receive them.
- Click Create workspace template.
Your workspace template appears in the My workspace templates tab and under My workspace templates on the create-workspace screen. Only your account can edit it or create workspaces from it.
Import a bundle as an editable copy
Section titled “Import a bundle as an editable copy”Use Import & customize when someone gave you a .tar LabPod bundle and you want to modify the
Dockerfile or build context before using it.
- Open the Advanced tools menu → Workspace templates → My workspace templates.
- Click Import bundle.
- Choose the
.tarbundle file. - Review the preview. If it contains a Dockerfile, LabPod shows the Dockerfile and any context files in the preview.
- Optionally change Display name.
- Click Import & customize. The button reads Copying… while LabPod writes the copy.
LabPod creates a disabled private workspace template and writes the editable build context under:
~/work/.labpod/context/<template-id>/The directory normally contains:
Dockerfilerequirements.txtother files copied by the DockerfileTo edit it:
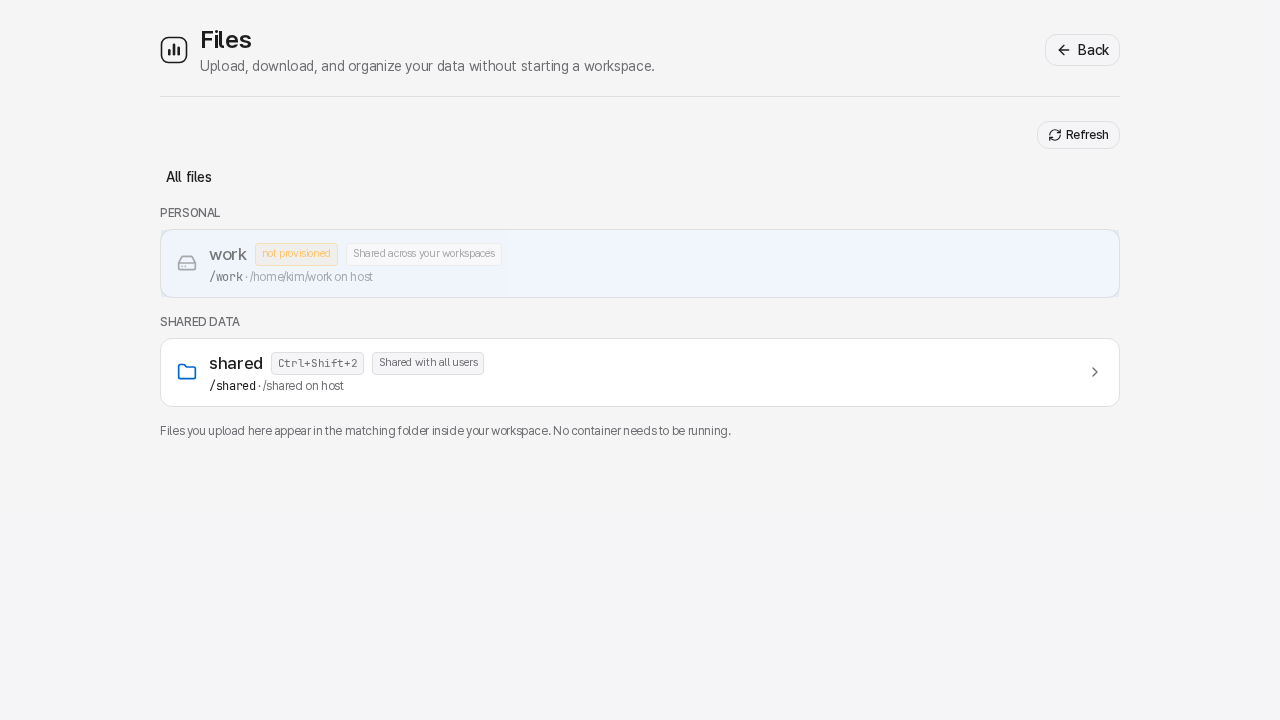
- Select the imported copy in My workspace templates.
- Click Edit files.
- Open
Dockerfilein the file manager, switch to edit mode, change it, and save. - Edit any copied files such as
requirements.txtthe same way.
To build it:
- Return to My workspace templates.
- Select the imported copy.
- Click Build.
- Open My build history if you want to watch the build log.
- After the build succeeds, return to the workspace template and click Save to enable launching.
The build is template-keyed: LabPod reads the Dockerfile from
~/work/.labpod/context/<template-id>/ and builds the image tag stored on the workspace template. You do
not provide a separate build path.
Import a bundle as-is
Section titled “Import a bundle as-is”Use Import when you trust the bundle and want to use it without modifying the Dockerfile.
- Open the Advanced tools menu → Workspace templates → My workspace templates.
- Click Import bundle.
- Choose the
.tarfile and review the preview. - If the bundle has a Dockerfile, leave Build now checked to build immediately.
- Click Import (build now).
- When the build succeeds, select the workspace template and click Save to enable launching.
If you uncheck Build now, LabPod registers the workspace template and preserves its context. Build it later from the workspace template’s Build button before creating a workspace from it.
Export a workspace template
Section titled “Export a workspace template”Use export to share a workspace template with another LabPod user or another LabPod server.
- Open the Advanced tools menu → Workspace templates → My workspace templates.
- Select a workspace template.
- Click Export.
The downloaded bundle includes the workspace template metadata, README, and, when available, the Dockerfile
and build context. It does not include your /work files or workspace home.
What to put in the Dockerfile
Section titled “What to put in the Dockerfile”Put system packages, Python packages, CUDA-compatible libraries, app servers, and command-line
tools in the Dockerfile. Keep project data, notebooks, checkpoints, and large datasets in /work
or shared mounts.
Example:
FROM docker.io/pytorch/pytorch:2.5.1-cuda12.4-cudnn9-runtime
RUN apt-get update \    && apt-get install -y --no-install-recommends git curl \    && rm -rf /var/lib/apt/lists/*
RUN pip install --no-cache-dir jupyterlab tensorboard streamlit gradio
WORKDIR /work
After a workspace starts, LabPod mounts your persistent ~/work as /work, so files baked into
/work by the image can be hidden by the mount. Put reusable code in another image path, or keep
it in the imported build context and copy it into a path such as /opt/project-template.