

Workspaces & workspace templates
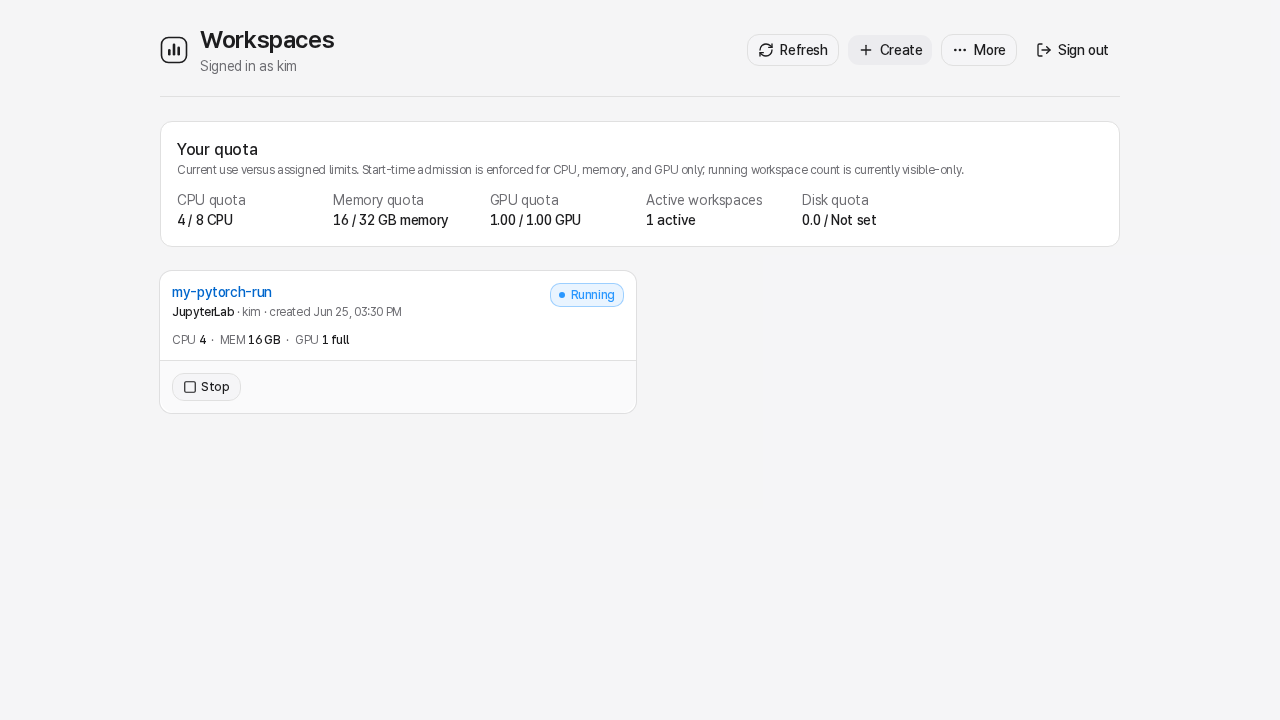
A workspace is a container that runs on the shared GPU workstation as your Linux user. It has its own CPU, memory, GPU, and disk limits. It stays running until you or an admin stops it - LabPod does not auto-stop idle workspaces.
Workspace templates
Section titled “Workspace templates”A workspace template specifies the software environment. When you create a workspace you pick one workspace template; after creation it’s fixed. Each workspace template ships resource defaults that the composer turns into a recommendation you can accept or adjust.
LabPod comes with these global workspace templates:
| Workspace template | What’s inside | GPU |
|---|---|---|
| PyTorch JupyterLab | JupyterLab + PyTorch, CUDA-ready; TensorBoard launcher available after install | on by default, togglable |
| TensorFlow JupyterLab | JupyterLab + TensorFlow; TensorBoard launcher included | on by default, togglable |
| Data Science JupyterLab (CPU) | NumPy, SciPy, pandas, scikit-learn, matplotlib | none |
| Code Server | VS Code in the browser, Open VSX extensions | optional |
The built-in JupyterLab workspace templates run on LabPod-built public images on the GitHub Container
Registry (ghcr.io/labpod/*). PyTorch JupyterLab uses ghcr.io/labpod/pytorch-jupyter
(CUDA builds v2-cu121/v2-cu126/v2-cu129, auto-matched to your host’s NVIDIA driver and GPU at
first start; an admin can pin a specific version); TensorFlow JupyterLab uses
ghcr.io/labpod/tensorflow-jupyter:v2-cu125 (it bundles its own CUDA, so it runs on older drivers
too); Data Science JupyterLab (CPU) uses ghcr.io/labpod/scipy-jupyter:v2-py312 (CPU-only).
Eight more workspace templates - CUDA Composite Workspace, LLM/Hugging Face, ComfyUI, R ML JupyterLab,
RStudio Server, Parallel Programming, Miniforge JupyterLab, and Python (uv) JupyterLab - are
also enabled by default on a fresh install. Each pulls its own tested ghcr.io/labpod/* image.
MATLAB and MS Code Serve-Web ship disabled with local recipes because LabPod can’t redistribute
either as a ready image; after the administrator accepts any terms and enables the workspace template, each
researcher builds it in their own account. A PyTorch demo showcase and Anaconda JupyterLab also ship disabled, but only because
they’re opt-in extras - pulling their images needs no build either. See
Built-in workspace templates for what each one contains, including which
ones ship a Published image and which are Locally built.
Your admin may have added more workspace templates; you can also create your own - see User-owned workspace templates below.
Creating a workspace
Section titled “Creating a workspace”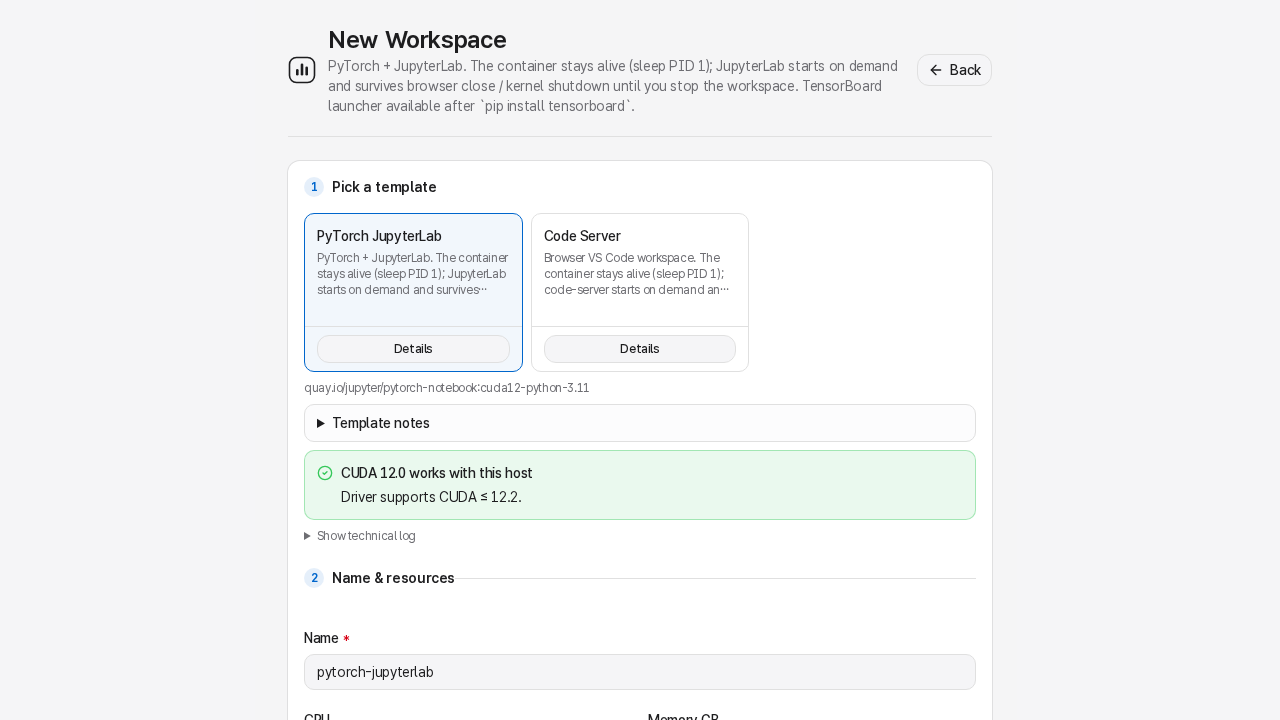
- From your workspace list, press Set up workspace. The workspace template gallery reaches the same form through Start from scratch.
- Confirm the workspace template. Your admin’s suggested workspace template is listed first, selected by default, and marked Recommended; workspace templates that use a GPU carry a GPU pill. Notes expand with details when available, and a Setup needed pill marks a workspace template whose image still needs preparing.
- The composer fills in a suggested name and recommended resources (processors, memory, accelerator) for you. Adjust the name if you like; the resource numbers are a starting point, not a requirement - open Customize if you need something different.
- The image doesn’t need to be ready yet. Create workspace always just registers the workspace, whether or not its image has been downloaded or built - LabPod does not pull or build the image at creation time, or when you later start the workspace. If it isn’t ready, prepare it afterward on the workspace’s own page.
- Open Customize if you need exact CPU/memory, a specific GPU sharing mode, folders, environment variables, or to see the declared ports/image detail. Collapsing Customize again does not discard anything you entered.
- Press Create workspace. This step only registers the workspace - it does not download or build any image, start the container, or claim any GPU/CPU/memory. If the image needs preparing, go to the workspace’s own page and choose Download image or Build image (Rebuild image if it’s gone stale), then press Start workspace to claim your quota and bring the container up.
Customize
Section titled “Customize”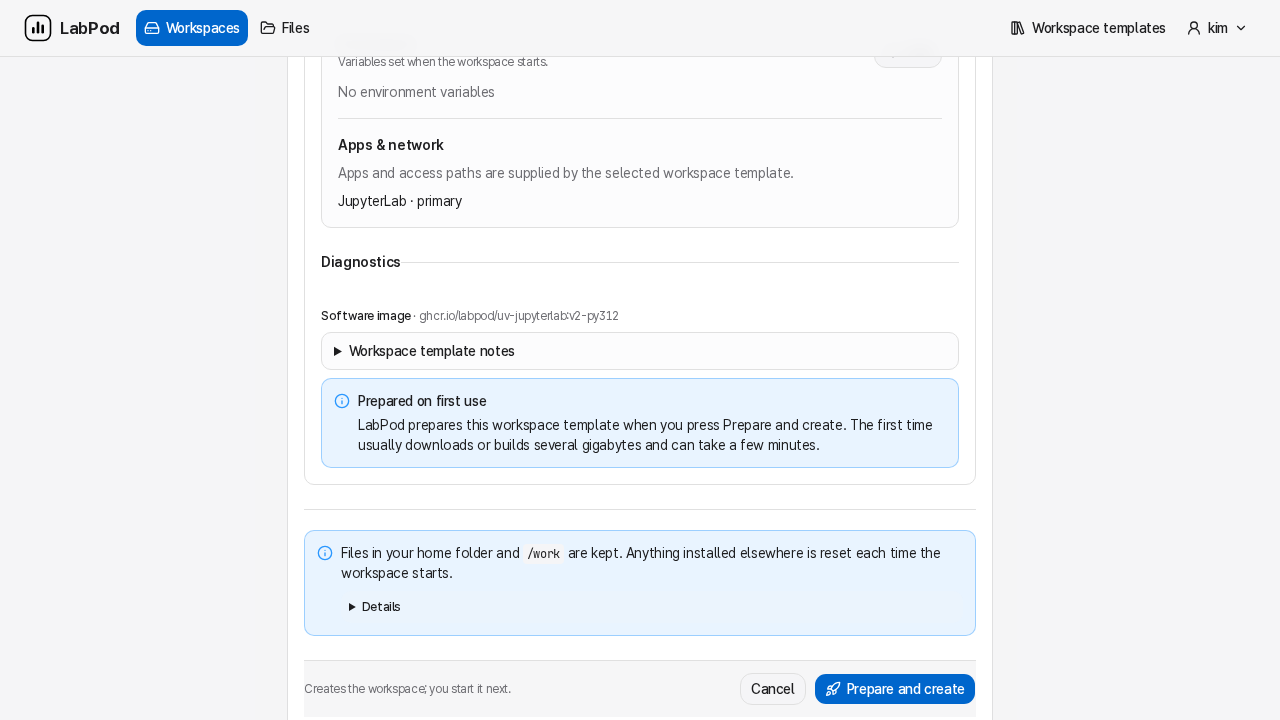
Everything advanced lives behind one Customize disclosure on the composer, organized into a few sections in order: Compute (exact CPU/memory, GPU count, and a use-case picker - Light, Medium, or Heavy - with an Advanced: pick exact GPU mode nested control for whole/HAMi/MIG and their mode-specific fields), Folders (shared presets and custom mounts), Environment (name/value pairs), Apps & network (the workspace template’s declared ports), and Diagnostics (image reference, workspace template notes, pull/build status and logs). If something you entered fails validation, LabPod opens Customize automatically and focuses the offending field instead of just failing the whole form.
Folders
Section titled “Folders”By default your ~/work directory is mapped to /work in every workspace. Customize → Folders
lets you also include:
- Shared presets - admin-configured paths (datasets, model weights, etc.) that your admin has made available. All presets are checked by default.
- Your own folders - any directory on the host you have read access to. These are saved per-workspace and re-applied on every Start.
Folder changes made from Manage workspace → Settings apply on the next Start.
Environment variables
Section titled “Environment variables”Set NAME=value pairs that are injected into the workspace when it starts. Useful for
overriding HF_HOME, setting API keys, or tuning CUDA behavior. Edit them from
Manage workspace → Settings → Environment and they apply on the next Start.
User-owned workspace templates
Section titled “User-owned workspace templates”You can save a workspace’s configuration as your own workspace template: export it as a bundle file and import it later. Open the Advanced tools menu → Workspace templates; user-owned workspace templates appear under the My workspace templates tab and are private to your account.
Workspace lifecycle
Section titled “Workspace lifecycle”| Action | What it does |
|---|---|
| Create workspace | Registers the workspace. Claims no CPU/memory/GPU |
| Start workspace | Runs podman run to start the container and applies all settings. It never pulls or builds a missing image. This is what claims your quota |
| Stop | Sends SIGTERM to the container then tears it down gracefully |
| Delete | Removes the container and frees the GPU slot; see below |
What survives a Stop
Section titled “What survives a Stop”Everything that matters persists:
/work- your work directory - survives because it is a host mount, not inside the container.- Your workspace home (
/home/<you>inside the container) - backed by a per-workspace directory on the host, so conda envs, pip installs, dotfiles, and shell history all survive stop/start. - Files in any admin-configured shared mounts.
Processes running inside don’t survive - kernels, training jobs, terminal sessions all end.
What happens when you delete
Section titled “What happens when you delete”Delete removes the workspace’s configuration and container. Its per-workspace home directory is
not deleted - it is archived into a recoverable location under your account, so ask your admin if
you need something back from it. Your /work directory is not touched - it is a host
directory that outlives any workspace.
Delete lives under Manage workspace → Settings → Danger and requires you to type the workspace name and tick a confirmation checkbox before the button activates. Deleting a workspace is owner-only - admins cannot delete other users’ workspaces. To reclaim resources from another user’s workspace, an admin can force-stop it, but force-stop does not delete it (see Lifecycle).
Managing a running or stopped workspace
Section titled “Managing a running or stopped workspace”The workspace detail page leads with your main app and one state-correct button (Start, Resume, Launch, or Open - see Quickstart), plus Terminal and Files shortcuts. While it is running, read-only Resource usage meters and an Apps status list appear above Manage workspace. The controls live in that disclosure further down the page:
- Open at sign-in - pins this workspace so it loads immediately after you log in, skipping the workspace list. One pin per user; pressing it again unpins.
- App controls - one card per installed launcher, with Launch, Stop, and Restart controls.
- Extra apps - run your own web app inside the workspace (TensorBoard, Gradio, Streamlit, FastAPI…) and use Add app so LabPod gives it a link here. Each running app gets a Copy link action. See Extra apps & ports.
- Settings - a dialog with Resources (CPU, memory, GPU count; GPU mode is fixed at creation), Folders, Environment, and (owner-only) Danger for Delete. All changes apply on the next Start.
- Technical logs - bounded, persistent stdout/stderr for the container and for each
LabPod-managed app, useful when troubleshooting with an administrator. A failed app shows a
direct View app logs action, and captured output survives app and workspace restarts (also
reachable from the CLI:
labpod ws logs <workspace> --launcher <name>). - Stop / Force stop.
If Start or Resume finds the workspace’s image missing - for example after it was pruned - the dashboard and workspace page offer an explicit download in place, follow it through completion or cancellation, and then ask you to press Start or Resume again.