

Quickstart
This is for a researcher who just got a LabPod account on a shared GPU workstation. In about five minutes you’ll log in, create a workspace, run something on the GPU, and stop cleanly.
If you don’t have an account yet, ask whoever runs the box - they create accounts and set your password. (Operators: see Users & quotas.)
Log in
Section titled “Log in”Open the URL your admin sent you, for example http://lab-gpu.example.local:24680.
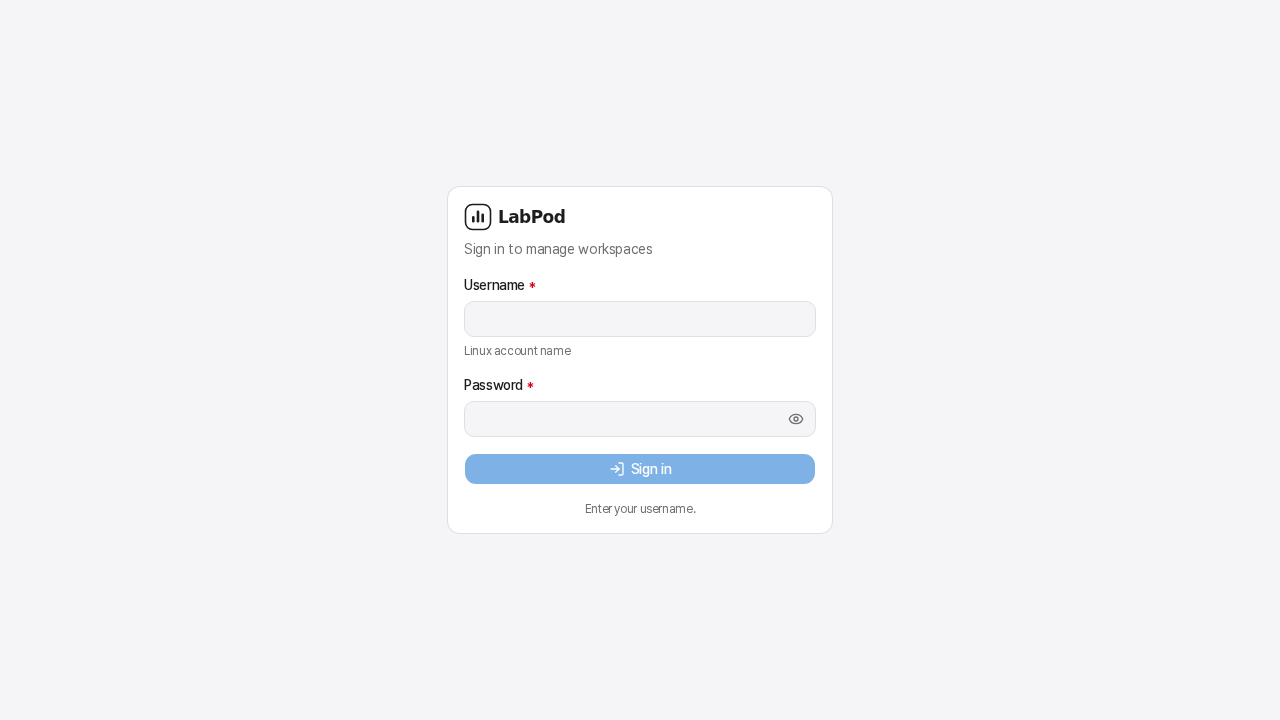
- Username - the same as your Linux account on the workstation.
- Password - your LabPod password, set by the admin. This is separate from your Linux password.
The first password an admin gives you is temporary. After signing in, choose a new LabPod password
before opening a workspace, file, terminal, or app. Use 8–64 Unicode characters (12–64 for an
administrator account). LabPod rejects common passwords and easy guesses based on your account or
labpod; it does not require a particular mix of uppercase, lowercase, numbers, or symbols.
Changing it affects only your LabPod credential.
After you sign in, LabPod skips ahead when it can: with no workspaces yet it lands you on the workspace template gallery, with exactly one workspace (of any status) or exactly one running among several it opens that workspace directly, and otherwise it shows your workspace list. Landing never creates or starts anything on its own - it only saves you a click.
Four steps, four kinds of cost
Section titled “Four steps, four kinds of cost”Getting from nothing to a running app is four explicit presses, and each one is the only place its kind of cost gets paid:
- Create workspace - pick a workspace template and confirm the recommended resources. This only writes a database row; no CPU, memory, GPU, disk, or network is touched yet.
- Download image or Build image - only needed if the workspace template’s image isn’t already in your account. This is where the download or build time and disk space get spent; skip it entirely if the image is already there.
- Start workspace - brings the container up. This is the only step that claims your quota and allocates GPU/CPU/memory.
- Launch the app - turns on the app inside the workspace (JupyterLab, code-server, …). Pressing it also opens the app once it’s ready, so there’s no separate fifth “Open” click.
Create a workspace
Section titled “Create a workspace”A workspace is a Podman container that runs on the shared host as your Linux user. It has its own CPU, memory, GPU, and disk limits, taken from your quota.
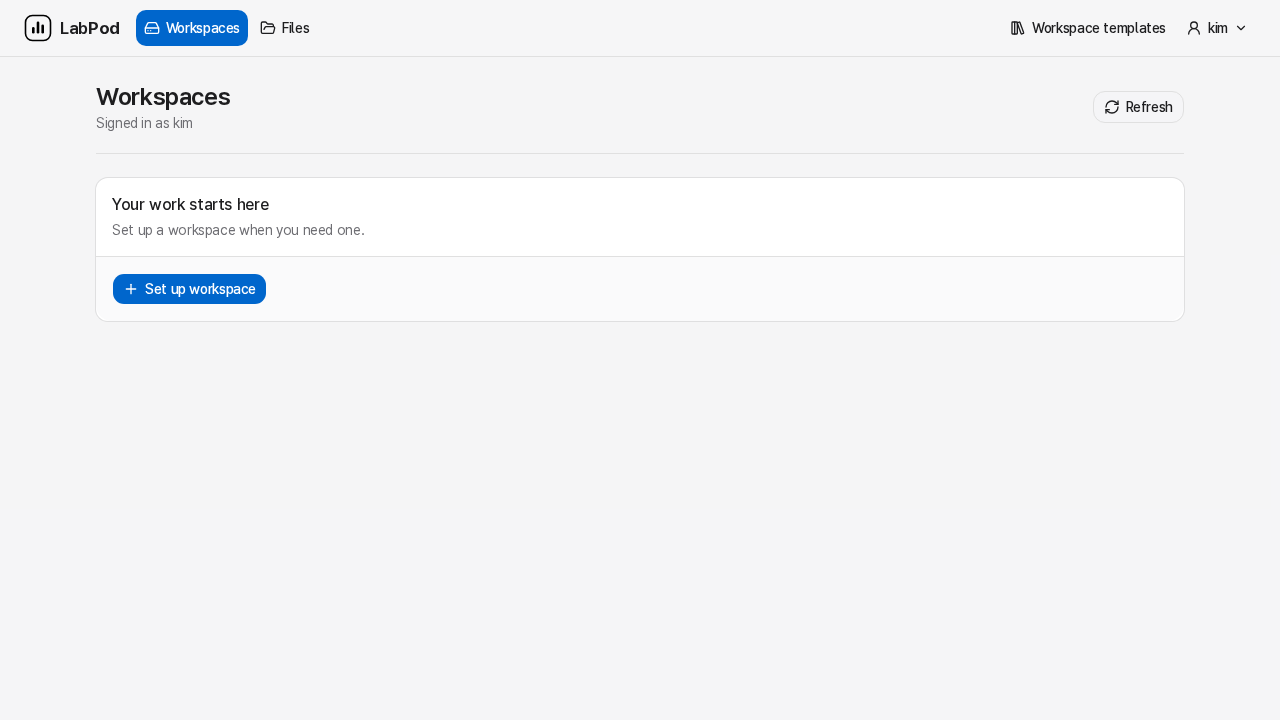
- From your workspace list, press Set up workspace. This only opens the composer - it creates nothing by itself. (Coming from the workspace template gallery, Start from scratch opens the same form.)
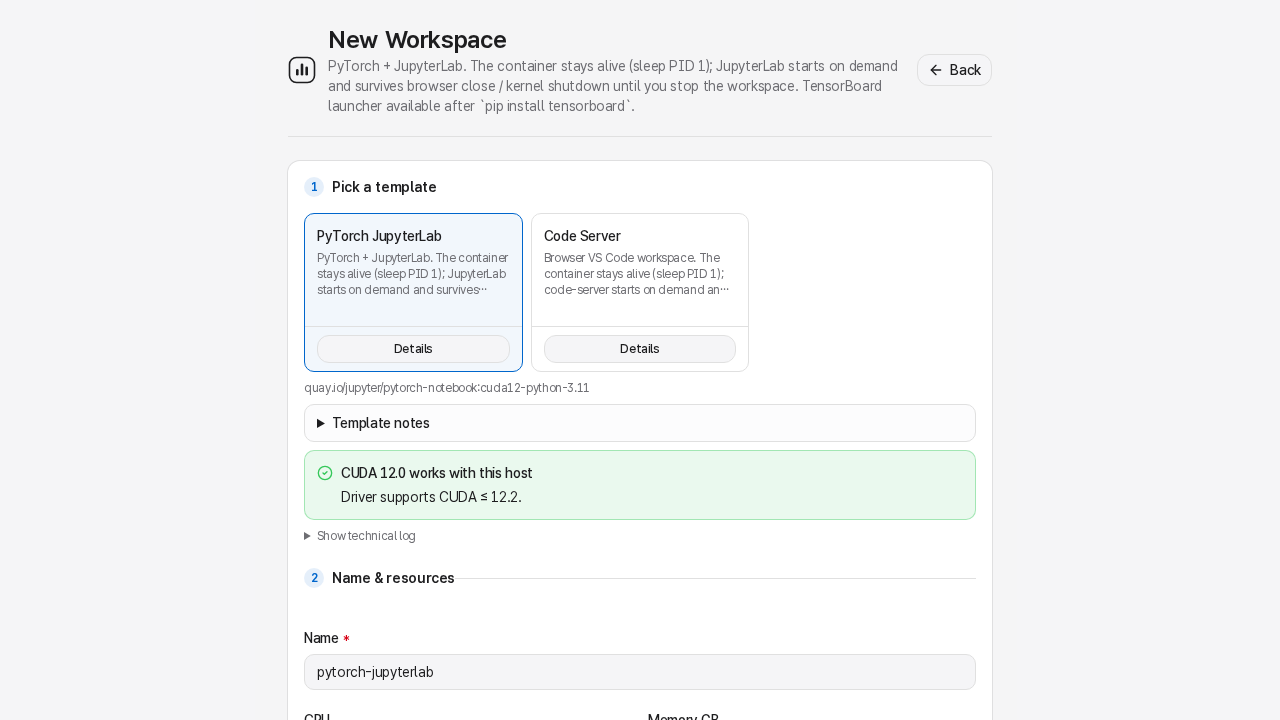
- Confirm the workspace template - a suggested name and recommended resources (processors, memory, accelerator) are filled in for you, sized to the workspace template and your current limits. If the workspace template supports it, a CPU only checkbox lets you skip the GPU for this run.
- Press Create workspace. This only registers the workspace - it does not download or build its image, start the container, or launch anything.
Need exact CPU/memory limits, a specific GPU sharing mode, folders, environment variables, ports, or image/runtime detail? Open Customize on the same form - see Workspaces & workspace templates and Using the GPU for the full picture.
Start the workspace, then launch the app
Section titled “Start the workspace, then launch the app”Open the workspace you just created. Its detail page leads with your main app and one state-correct button:
- Workspace not running yet - the button reads Start workspace (or Resume workspace if the host rebooted since it last ran). This is the step that claims GPU/CPU/memory from your quota.
- Workspace running, app not on yet - the button reads Launch
<app>. Press it and the app opens in a new tab as soon as it’s ready - you don’t press anything else. - App already running - the button reads Open
<app>.
Terminal and Files sit next to the main app as one-click shortcuts. Anything else the workspace offers - additional apps, resource usage, folders, environment variables, logs, and Stop/Delete - lives under Manage workspace, a disclosure lower on the page so the default view stays focused on the one thing you came to do.
Workspace URLs are path-based and protected by your LabPod session cookie, for example
http://<host>:24681/ws/<id>/jupyter/. LabPod redirects them to the adjacent workspace gateway;
start from the platform URL your administrator gave you rather than bookmarking its old /ws/
form.
Run training
Section titled “Run training”Open Terminal (or the terminal inside JupyterLab) and work as you normally would:
nvidia-smi # confirm the GPU is visiblepython train.pytensorboard --logdir runs/ --bind_all # then start TensorBoard under Manage workspaceFor long runs, just close the browser tab - the process keeps going inside the container.
LabPod sizes the container’s /dev/shm to half your memory limit, so PyTorch
DataLoader(num_workers>0) and single-container multi-GPU DDP (NCCL) work out of the box. (If you
hit Bus error in a container you started yourself with podman run, add --shm-size there -
Podman’s default is only 64 MB.)
Know where your files live
Section titled “Know where your files live”/work- your~/workon the host, mounted automatically. Persists across restarts and across workspaces. Put datasets, checkpoints, and code here./home/<you>- a per-workspace home, so conda envs, dotfiles, and shell history survive a stop/start of that workspace.- Files you create show up as your own Linux user on the host (
--userns keep-id) - nochown.
Full details: Files & storage.
Stop when you’re done
Section titled “Stop when you’re done”- Stop, under Manage workspace, when the experiment is finished and someone else needs the GPU. The stop is graceful (SIGTERM, then teardown).
- Don’t Stop for a coffee break - leaving a container running is cheap.
- Don’t Delete unless you no longer need the workspace configuration and container. Its private
home is archived under your account for recovery;
/workis preserved either way because it is a host mount.
If a workspace stops on its own
Section titled “If a workspace stops on its own”A workspace can stop without you - most often an OOM kill (it exceeded its memory limit) or the host rebooting (workspaces don’t auto-restart; you press Resume to bring them back). The card and detail page explain why. See When a workspace stops.
Next steps
Section titled “Next steps”- Workspaces & workspace templates - what each workspace template gives you.
- Apps & launchers - Jupyter, code-server, terminal, TensorBoard, MLflow.
- Example notebooks (Cookbook) - ready-to-run environments and notebooks across deep learning, HPC, and more research domains.
- Quotas & usage - your limits and where to read them.
- Desktop app - a native launcher instead of bookmarking URLs.